 Web Content Display
Hands On Session 1: How to develop multiscale applications with MAD, MaMe and GridSpace Experiment Workbench?
- Introduction to MAD, MaMe and EW: and
- Fusion application example: pdf intro presentation
- More info about the tools, manuals, download http://dice.cyfronet.pl/projects/details/Mapper
Step 1 - Simple application
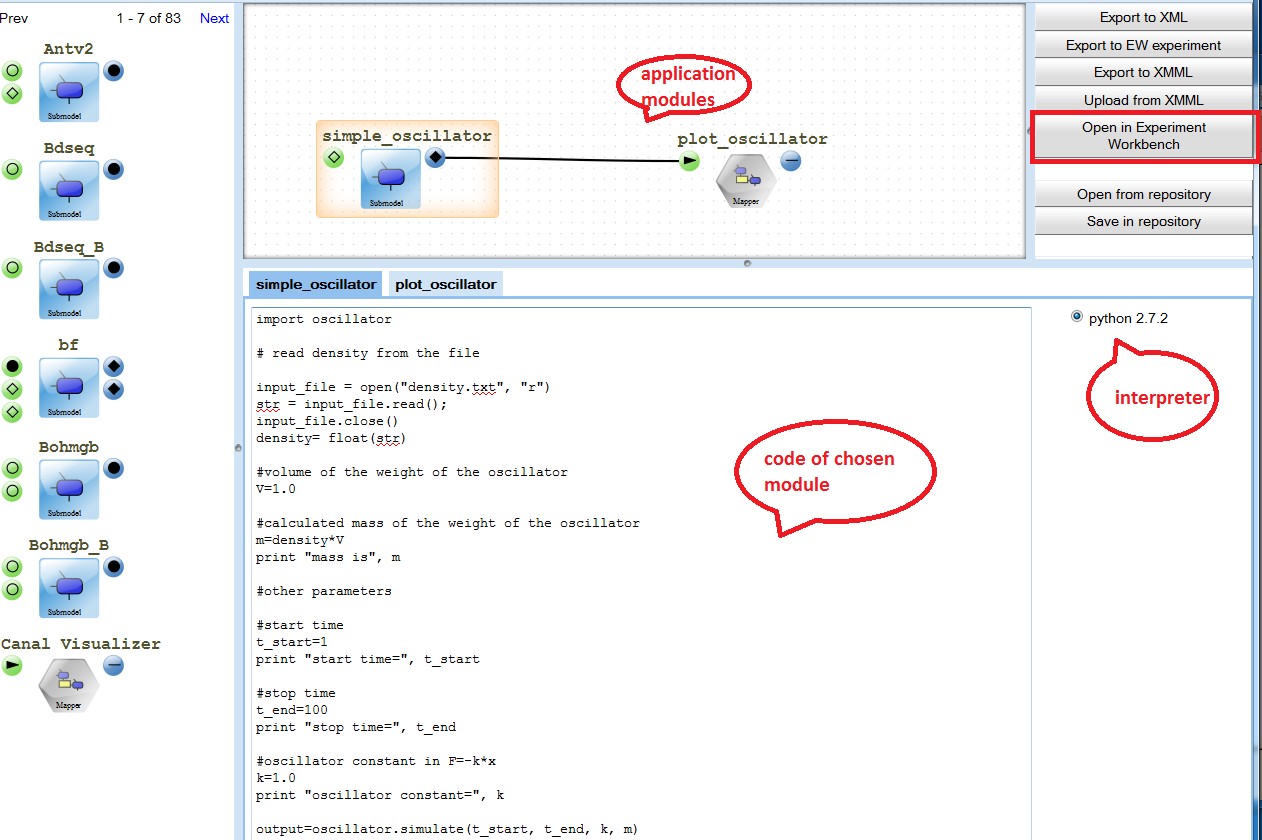
Multiscale Application Designer (MAD) allows to compose applications from existing elements. In this tutorial we will run a sample application simulating simple oscillator by solving ODE m*a=k*x. (m mass attached to the spring, k -sprint constant). The results are plotted using gnuplot tool.

- Go to https://gs2.mapper-project.eu/mad Note: We recommend to use Firefox browser
- Click on "Open from repository" button
- Choose "simple oscillator - step 1"
- The application consisting of the two application modules will appear. You can view/change codes of both modules by clicking on them. As this is a simple task, you do not need to change anything. Please click on "Open in Experiment Workbench" button.
- Please login to the experiment workbench (executor zeus.cyfronet.pl) with the same login and password as for the PLGrid Portal.
- After you log in you can see the two sippets (one for each application module)
- To get input for the simulation first download density.txt to your laptop/PC, next click on the "upload" button marked by (1) in the figure below and upload the file to the server.
- Now, you are ready to run the first snippet of the application - click the "run" button marked by (2) in the figure below. You can see output appearing below (3). After the simulation is finished you can see the new file with the results storing displacement of the oscillator in the subsequent time steps(file oscillator_output).
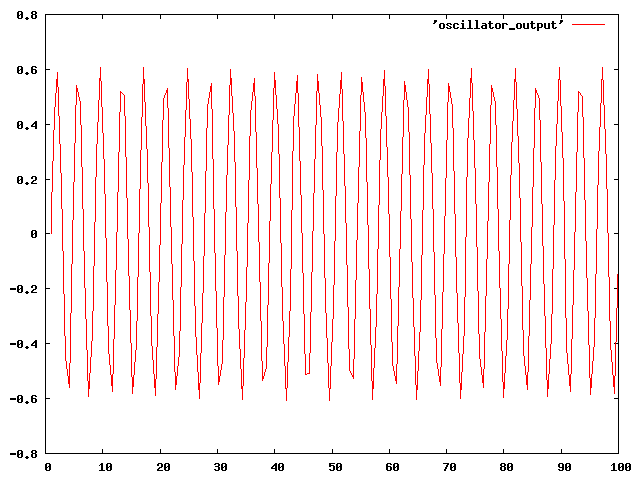
- Run next snippet (gnuplot) . It should produce file "oscillator.png". You can simply view it by clicking on it.


Step 2 - distributed execution
- In this step we will run the application in a distributed way. First, you have to login to another executor, another part of PL-Grid. Click on "zeus.cyfronet.pl" , next click on the "login to another executor". See below:
- Next, the login window will appear. Choose "reef.man.poznan.pl" and login with the same login and password as earlier.
- Once logged in, you can assigned different interpters to different executors. On reef, there is Gnuplot 4.0 installed, so please change "Gnuplot 4.4" to "Gnuplot 4.0" as shown below:
- Now, run the second snippet with the "run" button. Output file from the oscillator simulation needed by gnuplot will be automatically transfered.


Step 3 - Making the application multiscale.
- As you could see, the oscillator needs two parameters: a mass of the weight attached to the spring and a spring constant k. To build multiscale loosely copled simulation, we will assume we want to directly calculate the needed mass from microscopic properties of the material it is made of. For that purpose we will use LAMMPS software package for mollecular dynamics.
- We will assume that the weight is made from aluminium and we will directly calculate its mass from the lattice constant, or lattice parameter, which refers to the constant distance between unit cells in a crystal lattice of the metal.

- Fisrt we need to calculate lattice constant using LAMMPS. As the input we will use use the Mishin et al. potential of Aluminium, Al99.eam.alloy. Please download the file to your laptop and then upload it to the server using upload button.
- go to https://gs2.mapper-project.eu/mad or reload it, if you already have it open. Choose module "Lattice Constant Calculation" drag it and drop on a main plane as shown in the figure below. You will see code in LAMMPS language below. The places where a user defines input and output files has been marked for you. Among results you can find a lattice constant.

- To calculate mass we need a density of the aluminium, which we can calculate from its lattice constant. An example perl script doing that can be downloaded here.
- Now, we well use MAPPER Memory (MAME) tool to register that script as another application module.
- go to http://gs2.mapper-project.eu/mame
- choose models registry

- The list of all submodels and mappers should appear. In MML terminology, submodel is a model of a single scale phenomena and mapper is a scaleless entity that maps output from one submodel to the input of another submodel. We are going to register mapper in MaMe registry.
- go to the bottom of the list . Click on button "New mapper", provide info of the mapper as in the figure below (replace myName with your actual name). Then click "Register mapper". MaMe will ask you for the credentials. The credentials are different that those for PLgrid portal and the will be given during the tutorial

- Wait until the page is reloaded and find your mapper on the list as in the figure below. You also see information "no ports present". Ports can be input or output and are used to connect application modules. For our mapper we have to define two ports: one input port realised by the file "lammps_out.txt" and one output port realised by the file "density.txt" needed by oscillator. Let's define them by clicking on small (+) next to "No ports present" information:

- When clicking on (+), new window will appear asking for port details. Register input port: insert file name as Port id, mark it as "in". Do not worry about the operator - for mappers MML requires it to be undefined. As a datatype provide "file" . Do not forget to check "fixed name" flag. This flag tells MAPPER tools that a name of the file should not be changed.

- Now, when you click OK, you can see your mapper having one port registered as below.

- Click on (+) to add output port:

- Now, you mapper has all ports defined, the only thing that lacks is the actual implentation:

- Click on (+) next to "no implementation present". Again the dialog window will appear. Insert Interpreter name (Perl), version (5.8.8) , leave "bundle location" and "class name" empty (they are needed for tightly coupled applications using MUSCLE), click on "Browse" button next to config file and upload density_calculation.pl from your local laptop. (First you have to download it on your laptop from here).

- Now, you can see that all the needed information is stored in MaMe. You can click on "show config file" to see contents of your file. For this example you do not need to add any parameters, "No parameters defined" is OK.

- Now go to MAD https://gs2.mapper-project.eu/mad
- choose simple oscillator as in step 1

- When the application appears, drag and drop new modules: Lattice constant calculation and you mapper just defined in MaMe as in the figure below. Connect appropriate ports:

- Now, you can save your new application in the repository, replace "myName" with your actual name.

- Now, click on open in experimement workbench, make sure you have input file needed by LAMMPS (Al99.eam.alloy.) in your directory on server and run you application as in the step 1:
